Working on a Services Booking
Learning Outcome
On successful completion of this lesson, students will understand how, as a service technician, to add information to a service booking.
Lesson
Once a booking has been made, the record will be ready for the Service Technician to access and start work.
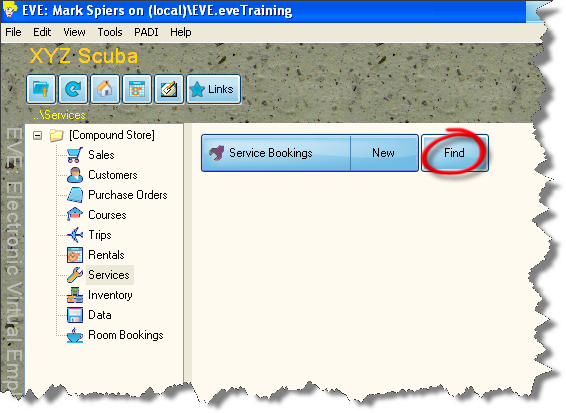
- In the Services screen, click on ‘Services Bookings’, ‘Find’.
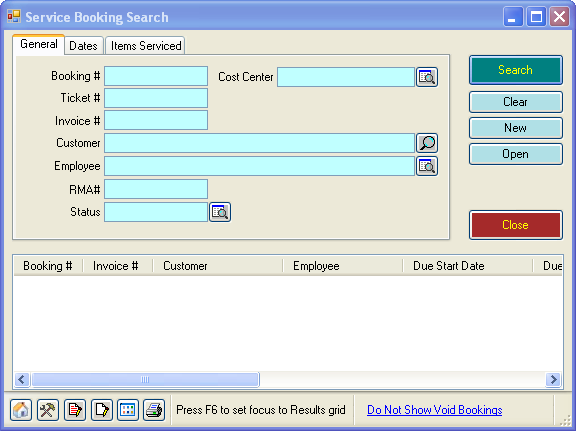
- The ‘Service Booking Search’ box will appear. Enter information into any of the fields to search for the booking.
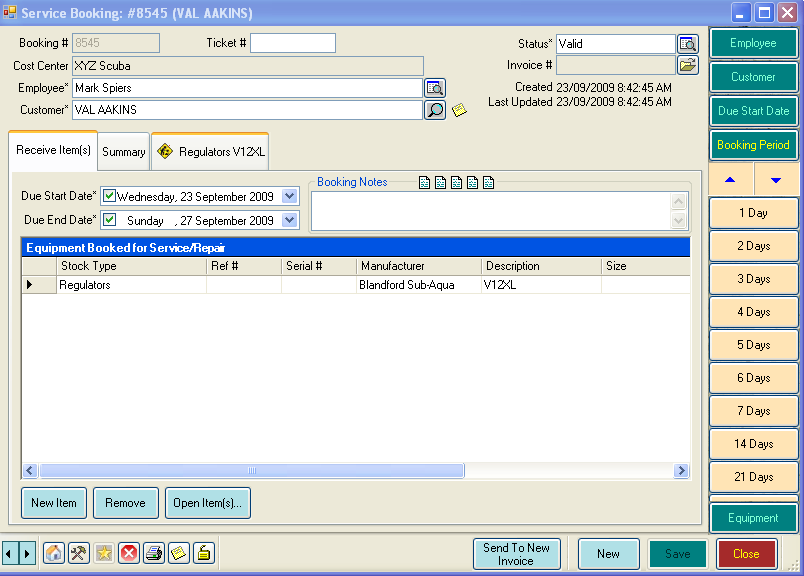
- The ‘Service Booking’ box will appear.
- Click on the tab for the item you are servicing
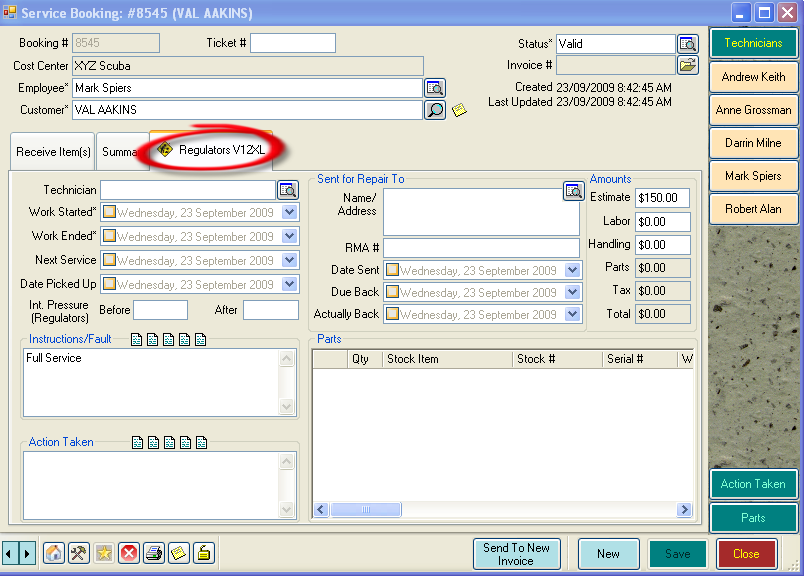
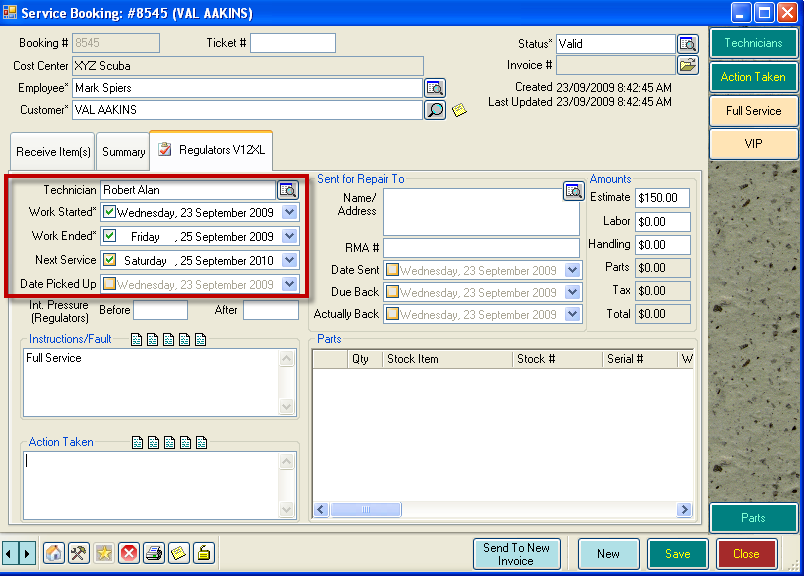
- In the highlighted section, shown below, you can enter:
- The Technician’s name
- Date that Work Started
- Date that Work Ended
- EVE automatically add in the next service date for the item. By default this is 12 months. This enables EVE to send out reminder emails using EVE Email Agent or the Customer Search Wizard.
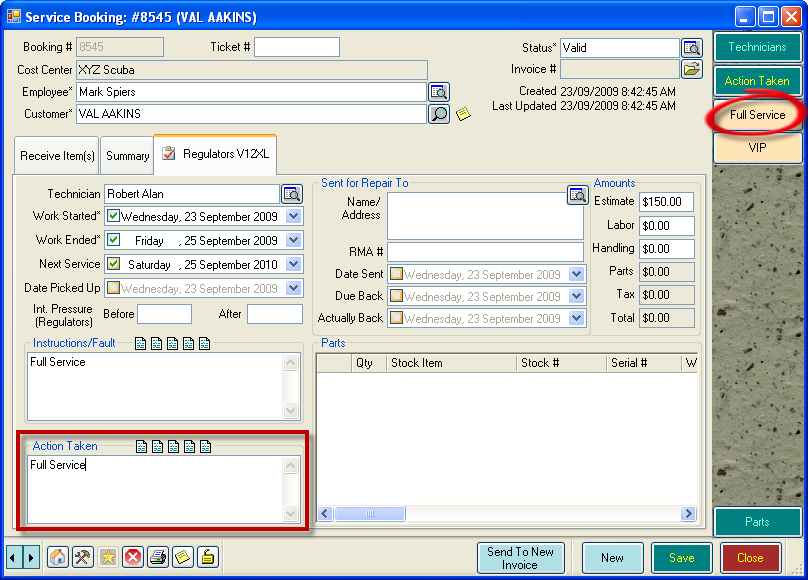
- Use the buttons in the Cool Bar to enter information in the Action Taken section. You can also type in additional comments as required.
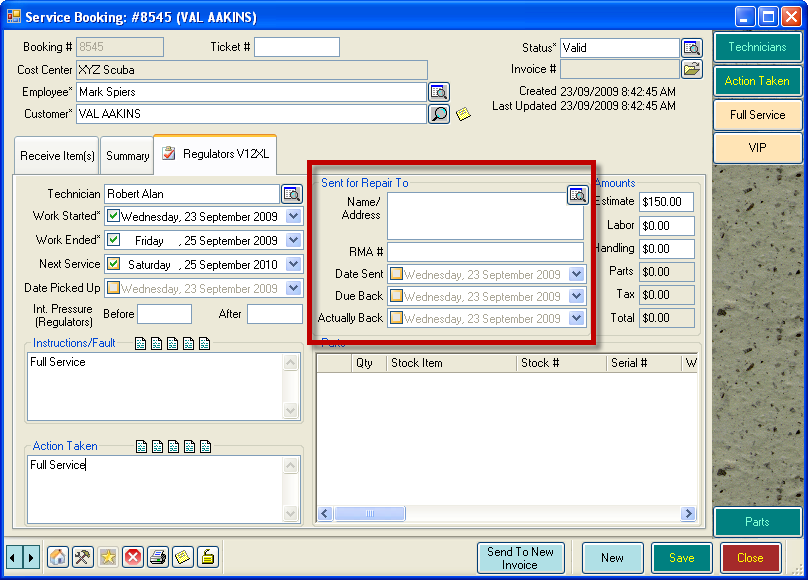
- If the item needs to be returned to a Manufacturer or Supplier, you can enter this information into EVE, including the expected return date.
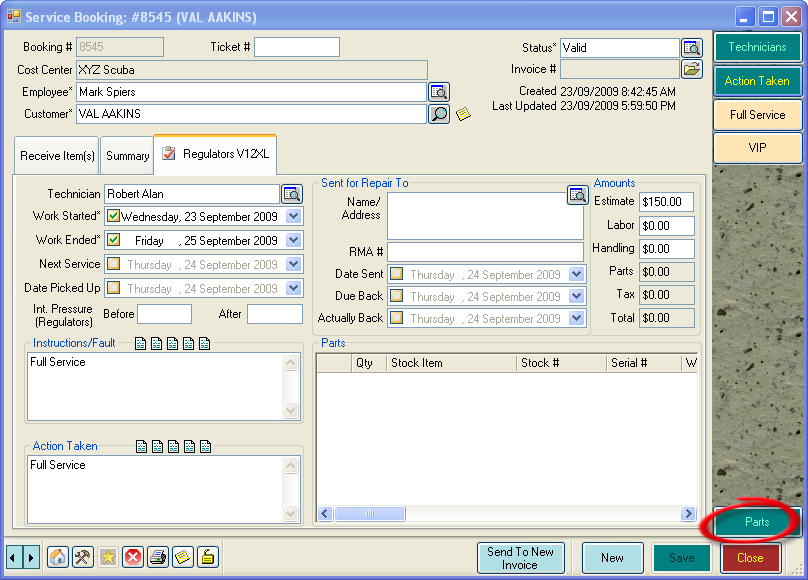
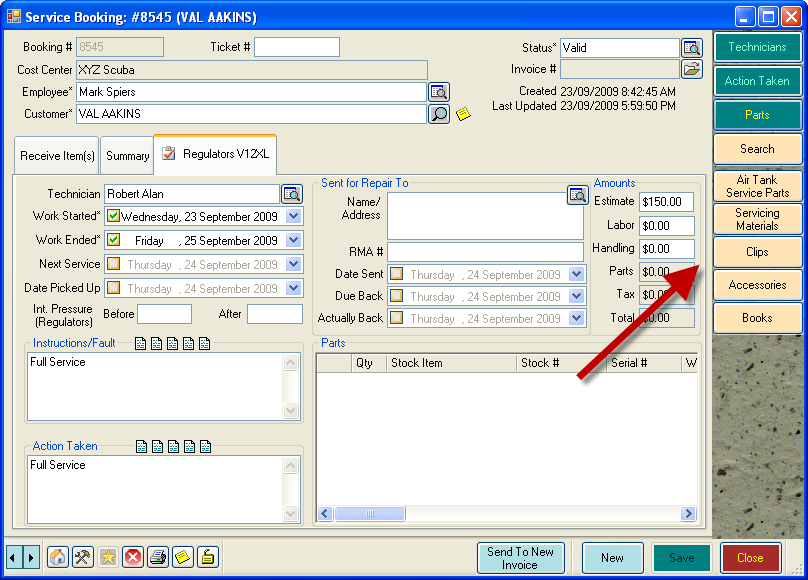
- Once the service is completed, you will want to calculate the cost of the repair. Click on the ‘Parts’ button in the Cool Bar.
- EVE will now display a shortcut to servicing parts in the cool bar.
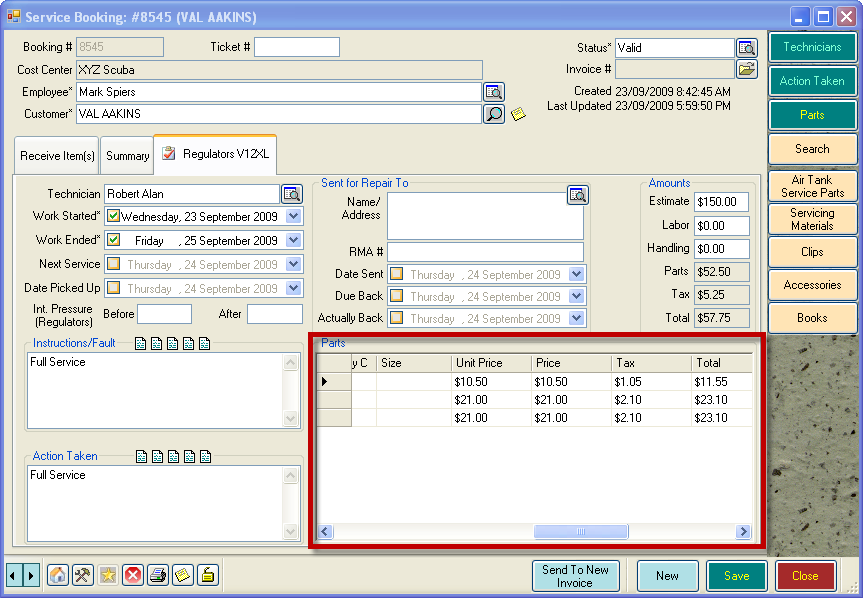
- Click on the appropriate button to search for parts that have been used for the service. These will be added to the ‘Parts’ window.
- Once the service is complete, click ‘Save’ and ‘Close’.

