Using PIC Online with EVE
Learning Outcome
On successful completion of this lesson, students will understand how to use PIC Online with EVE.
Lesson
EVE fully integrates with PADI’s PIC Online service. When you use PIC Online, EVE will populate the data fields on PIC Online with information from your EVE database.
Before you use the OnLine PIC’s you will be required to register by entering details of your dive centre. You do this in the Store record in the Data module, as below:
There are several ways that you can access PIC Online:
Option 1 – When you have completed a course you can opt to use PIC Online immediately (see previous section)
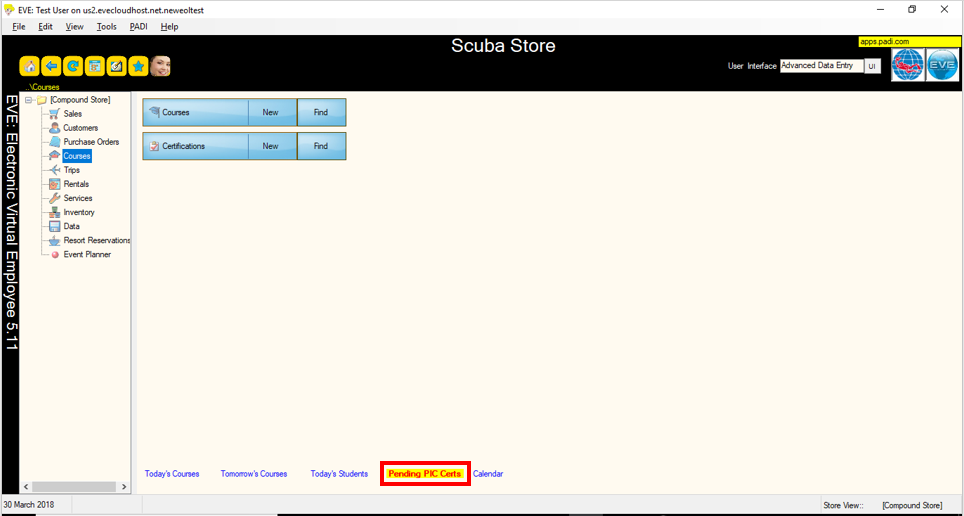
Option 2 – In the Courses Module, click ‘Pending PIC Certs’ at the bottom of the page:
Option 3 – Click the on the PADI Globe in the top right of the screen and then on the PADI menu and choose the ‘PIC OnLine’ option:
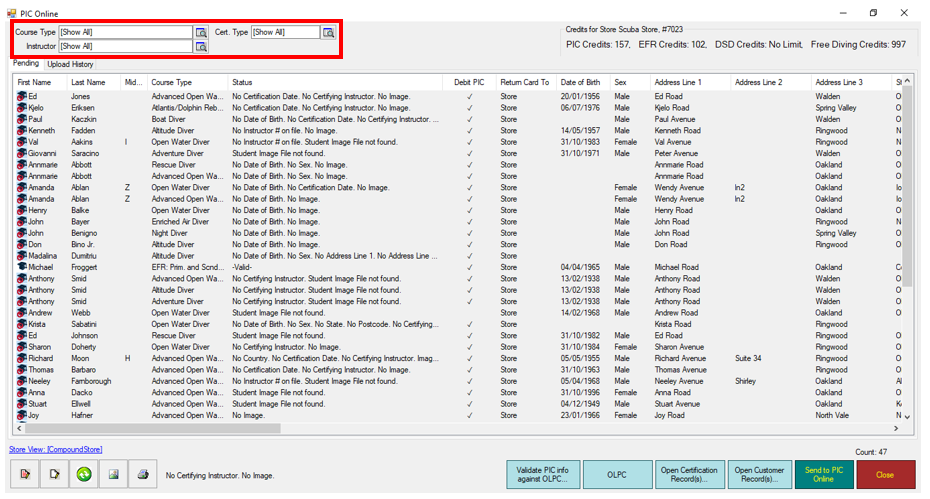
Using options 2 or 3 will take you to the next window which displays a list of all of the students who have completed a course. This is a list of pending PICS and DSD registrations which can be filtered by ‘Course Type’, ‘Instructor’ or ‘Cert. Type’:
The number of your available Standard Diving PICs, EFR PICs and DSD registrations is shown here:
Note: These figures do not include eLearner and Touch codes
The list of customers with pending PICs, EFR PICs and DSD registrations may show an icon with mortarboard and a red ‘no entry’ logo which means that information or an image must be added before it can be processed. The ‘Status’ column informs the EVE User of what must be added and this can be done by clicking on the ‘Open Customer Record(s)…’ to edit the customer record:
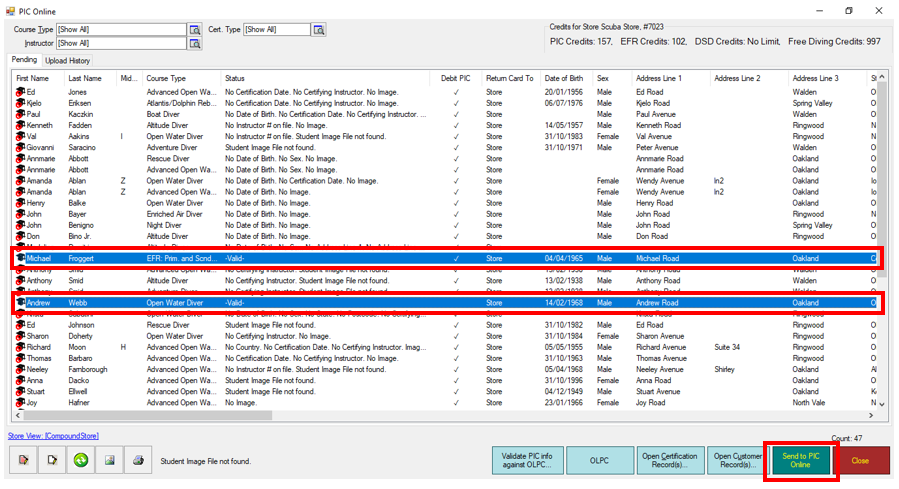
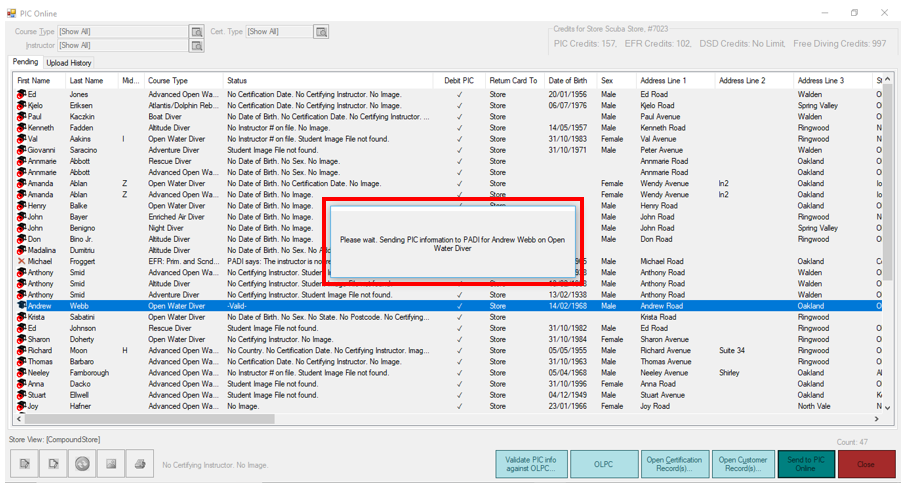
Once all the required information has been added, the ‘Status’ will then display the word ‘-Valid-‘. To process PICs, EFR PICs and DSD registrations, simply click on the desired customer and then click the ‘Send to PIC Online’ button. Note – Multiple customer can be selected and processed in one batch by holding down the ‘Ctrl’ button and clicking on the desired customers in the list:
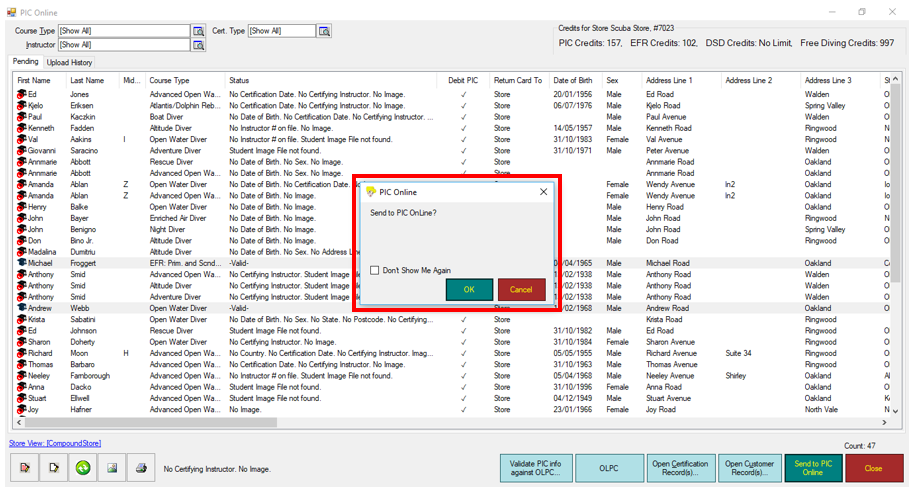
This will open up a message window asking if you want to send the information for PIC Online processing. Note – If you check the box for ‘Don’t Show Me Again’ you will not see this message again. Click the ‘OK’ button when you are ready to proceed:
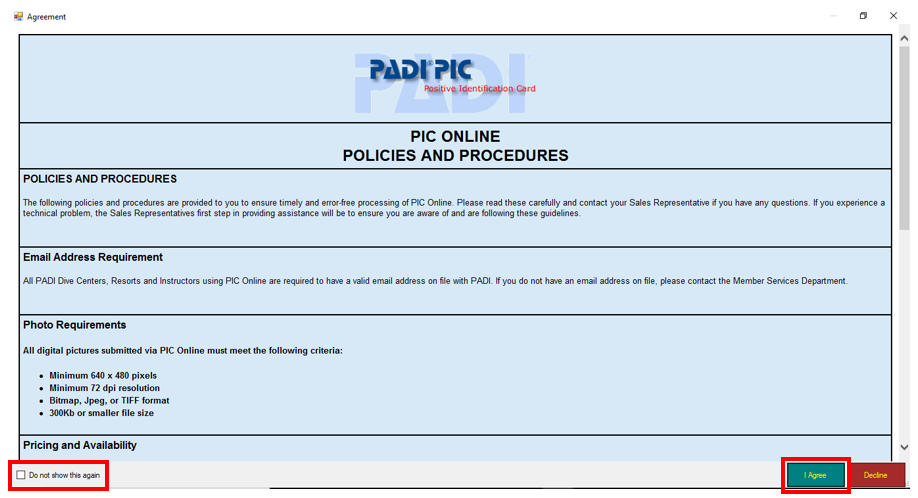
The next window you are taken to is the PIC OnLine policies and procedures window where you will need to scroll through and read the conditions. Note – If you check the box for ‘Don’t Show Me Again’ you will not see this message again. Click the ‘I Agree’ button to proceed:
The next window displays a message to show that the EVE database is connecting with the PADI PIC OnLine server::
The next window displays a message with the option to ‘Print Temporary Card’. This allows the EVE User to select a ‘Printer’ to print a paper copy or options print to ‘Screen’ or ‘File’:
This is an example of what a student’s temporary card would look like:


