Creating a New Services Booking
Learning Outcome
On successful completion of this lesson, students will understand how to create a new servicing booking.
Lesson
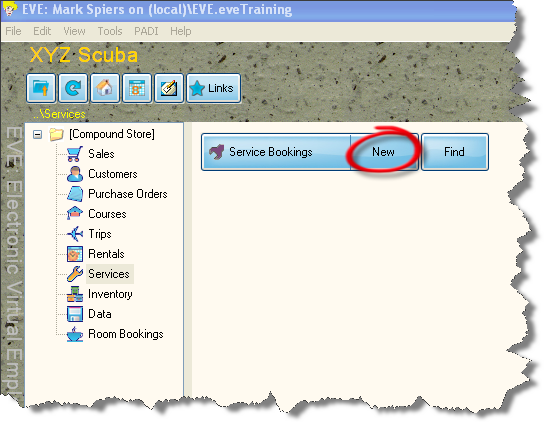
- In the Services screen, click on Services Bookings ‘New’.
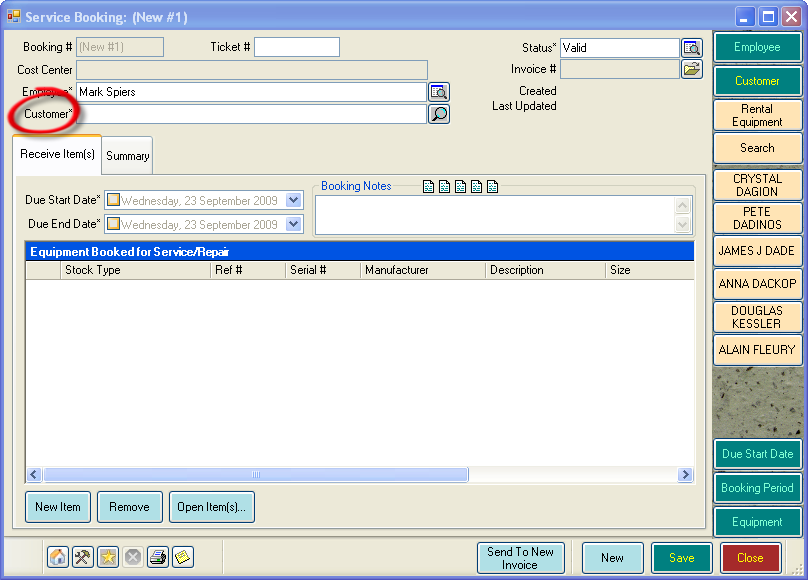
- The Services Bookings box will open.
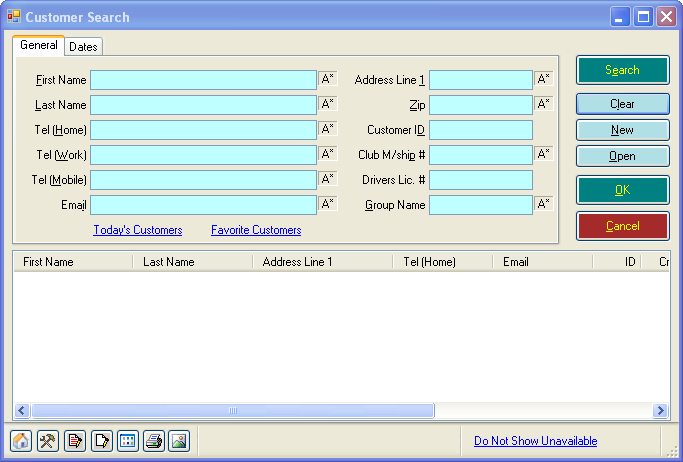
- The cursor is already in the Customer box. Click on the icon to the right to open up the Customer Search box.
- Here you can search for existing customers or create a new customer.
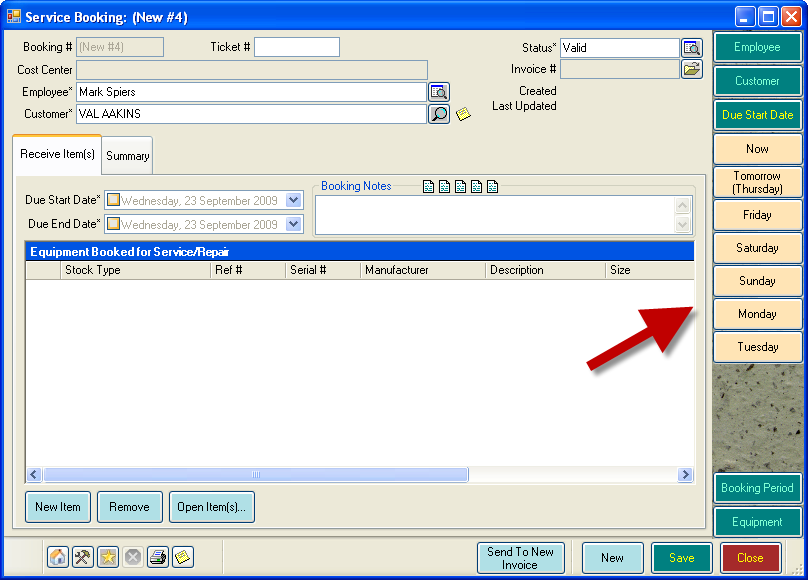
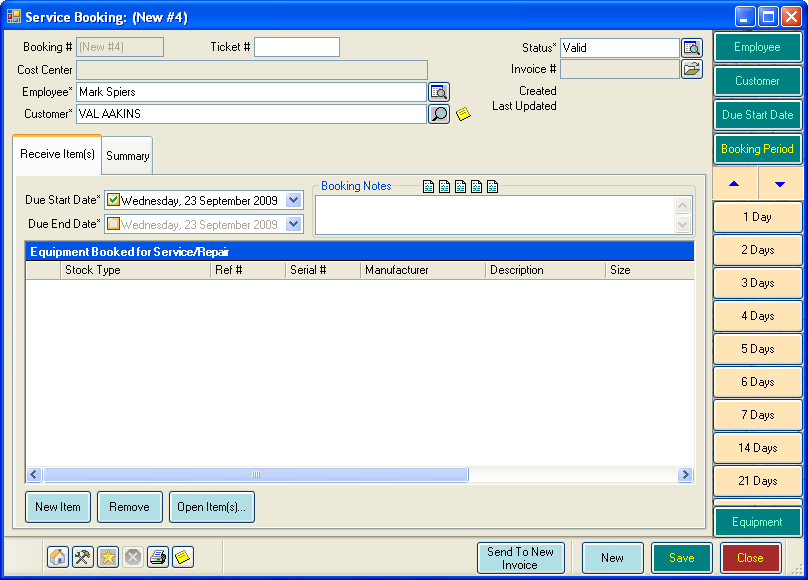
- Once you have entered a customer name and have returned to the Services Bookings screen, you will notice that the Cool Bar on the right-hand side of the screen has changed to the start date of the booking.
- Click on the date that the booking will start.
- The Cool Bar will change again and now you can select the number of days that the booking will take.
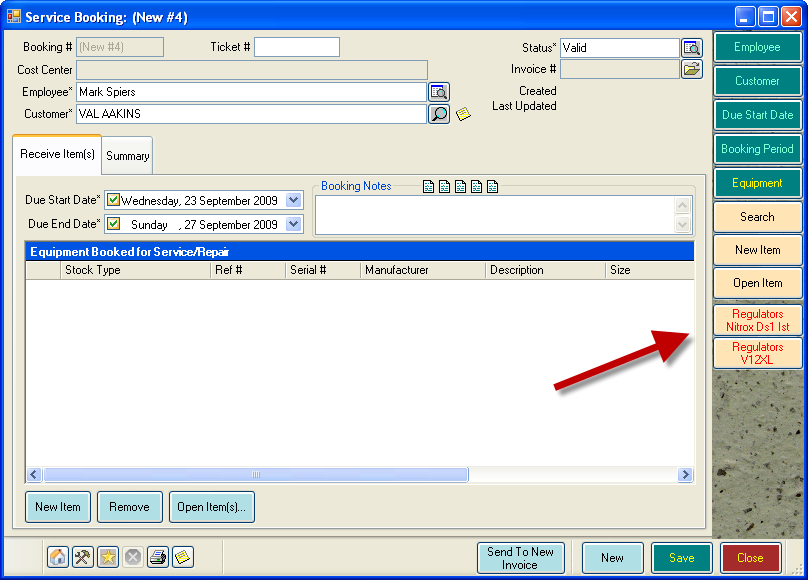
- Now you can add the equipment that will be serviced.
- If the customer has either purchased serviceable items from you or had a previous service for an item through your store, EVE will display these items in the cool bar. Simply click on an item to add it to the booking.
- Alternatively, you can use the ‘Search’ and/or ‘New Item’ buttons to add a piece of equipment to the booking.
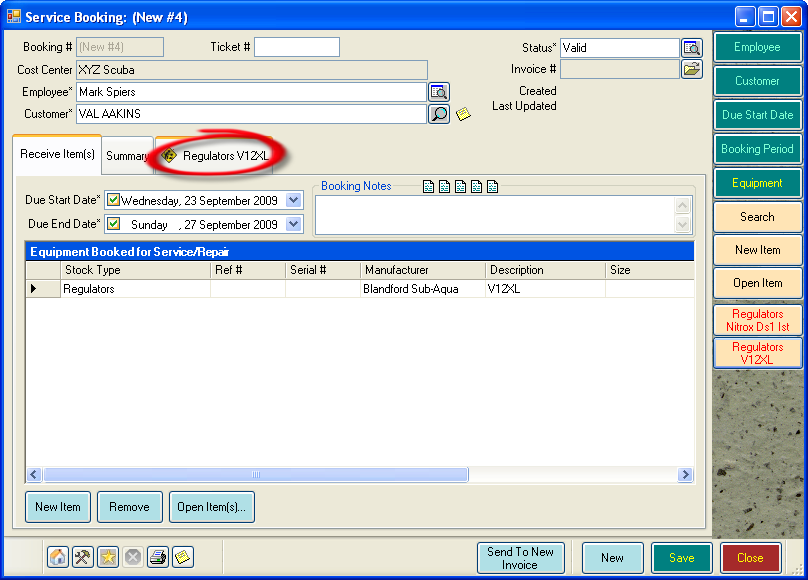
- Whichever method you choose, once you have added the equipment a new tab will appear on the booking.
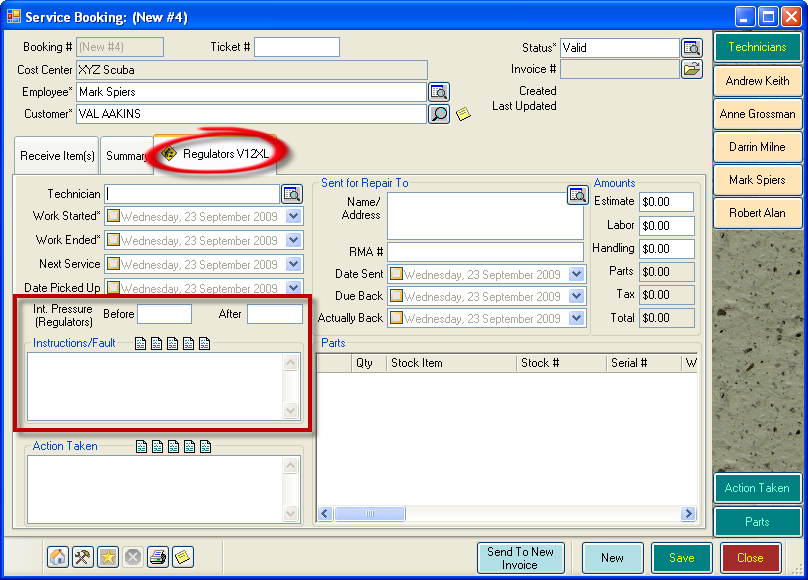
- Click on the tab to enter details about the equipment.
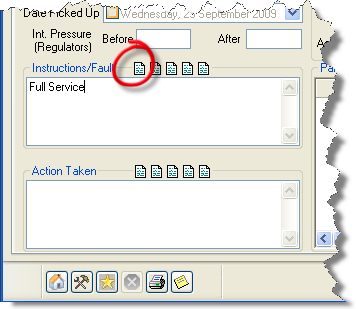
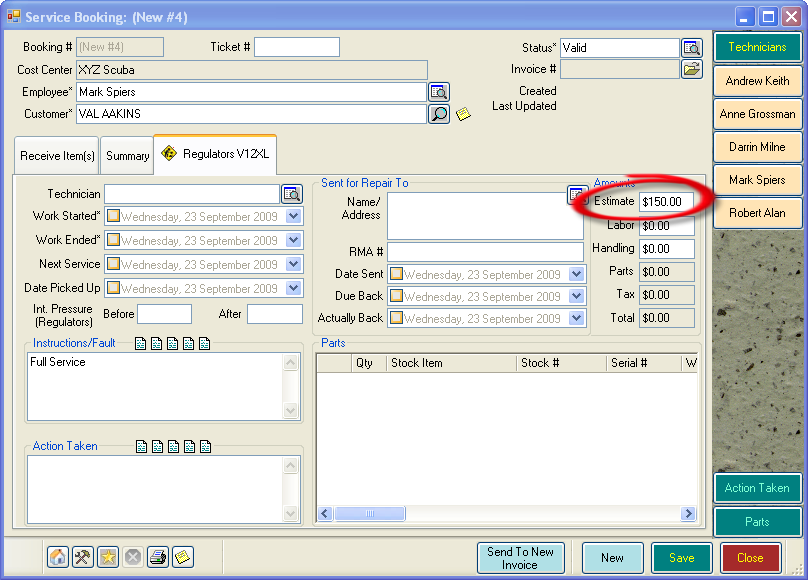
- Here the person taking the booking, can enter information regarding the nature of the fault, or if it is just a full service. You can also enter the intermediate pressure of a regulator, if you wish.
- You can also use the Notes buttons to quickly add common Instructions/Faults.
- If you want to provide an estimate for the customer you can add this as well.
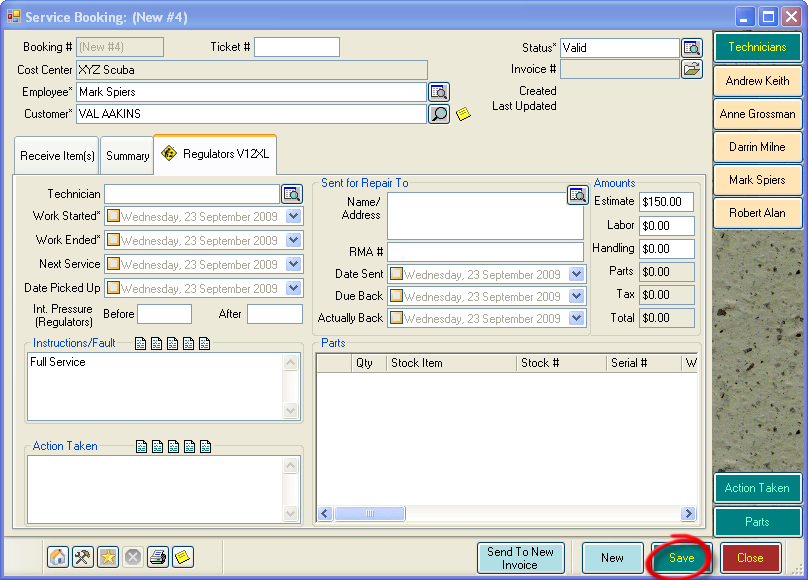
- Once you have completed the booking, click the ‘Save’ button.
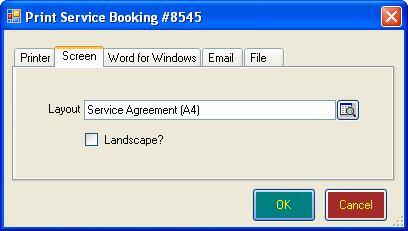
- The ‘Print Service Booking’ box will open.
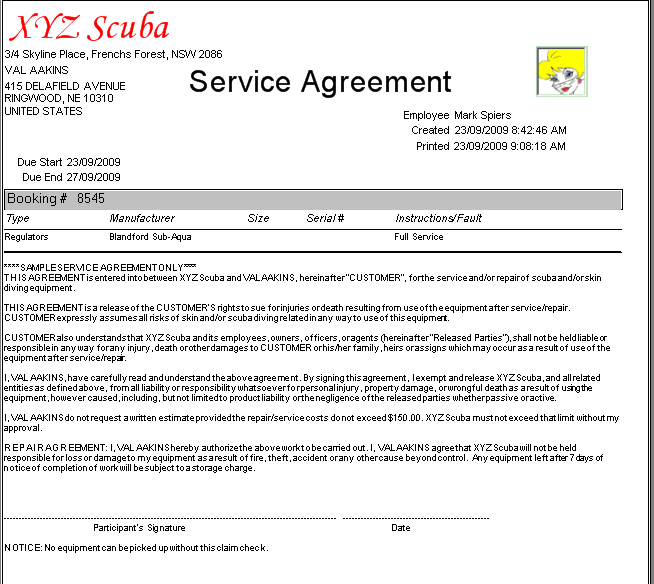
- EVE will produce a Services Agreement, which can be printed or emailed
- During the booking, we entered an estimate of $150 for this booking. EVE automatically adds this into the Service Agreement.

